Google’s free analytics tools can help you understand what your visitors are doing on your site, how they found your site, and whether or not they stayed long enough to read any particular pages. This information is invaluable in making your website more profitable.
As with any powerful analytics tool, Google Analytics can be a little intimidating at first. Learning new software takes time, and Google Analytics is no exemption. There is much data that you can track that it is easy to feel paralyzed at first.
Also, if you are not exactly sure what metrics to watch or how to interpret those metrics, it can be even more discouraging. Fortunately, there are many great free resources out there if you want to take the time to master this excellent SEO tool.
What About WordPress Plugins That Track Analytics?
There are also several great alternatives to Google Analytics that make it much easier to track the basics including WordPress analytics plugins that show results right in the dashboard of your WordPress website. Unfortunately, it just adds to the number of plugins you have to maintain and that could potentially weigh down your site and allow security risks.
While I have used several WordPress plugins for this in the past, using a third-party platform to monitor this helps maintain security and performance in the long run. One of my newest favorite non-plugin alternatives to Google Analytics is Microanalytics.io.
What is Microanalytics?
Microanalytics is a simple, clean, user-friendly website analytics tool and is fully compliant with GDPR, PECR, and CCPA. Microanalytics was created and is hosted in the EU. It is a lightweight, privacy-focused alternative to Google Analytics and powered by renewable energy.
Microanalytics does not track you or your visitors with IP addresses, fingerprints, or cookies, and nobody can be identified. With Microanalytics, you can see all the general data you need without all overwhelming dashboard options.
- Know what’s happening, as it happens, with stats updated in real time.
- Easily see all your data in one place – no over-complicated graphs or treemaps.
- See how visitors use your site, so you know like and what they don’t.
- Check where your website visitors are coming from and how they’re finding your website.
- Know exactly where in the world your visitors are accessing your site.
- See how people are accessing your site: on mobile, tablet or web.
- And more.
How much Does Microanalytics Cost?
This service is free up to 10,000 monthly page views. You will start being charged in small increments as your traffic grows, beginning with $9.00 for sites with between 10k and 100k page views per month. If you are already getting more than 10,000 page views per month, you probably want to consider going with Google Analytics. Google’s Analytics Academy is a great place to start.
But, for most local businesses, this is a great solution. Its easy-to-use and straightforward interface is a great way to introduce yourself and your clients to setting up your analytics and familiarizing yourself with the data you can measure and analyze.
Getting Started With Microanalytics
If you have decided to give Microanalytics a try, these steps should help you get on your way.
Creating The Microanalytics Account
Setting this up includes adding a line of code to your website’s <head> or <body> so you should have access to this. I will this a little more below. Also, while Microanalytics works with various website platforms, this article is aimed towards WordPress and Divi users.
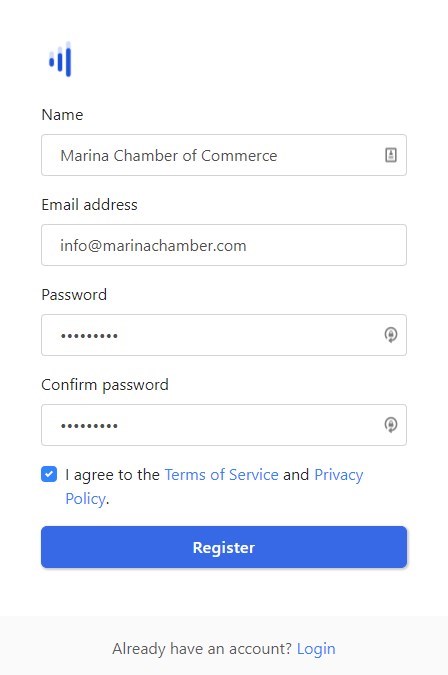
1. Go to Microanalytics.io and select Register.

2. Enter your registration info and select Register.
NOTE: If you are setting this up for a client, I would recommend using their contact information & email. At Monterey Premier, we usually create a free client email with Google that we use for all the tools we use when setting up similar services for our clients. This makes it easier to verify new accounts without waiting on the client to send you the verification email. We then hand over that email so that the clients can either keep it, or update the emails in the service platforms we have set up for them.
3. You will be sent an email asking you to verify your account.
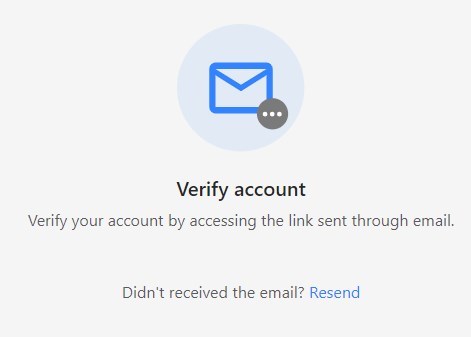
4. Once you receive that email, select Verify Email Address. This will take you to the new analytics dashboard.

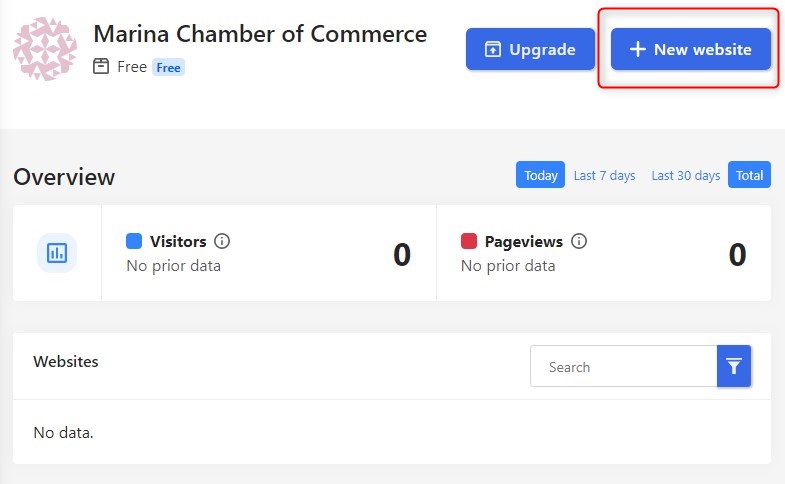
5. Once back into the new Microanalytics dashboard, select New Website.
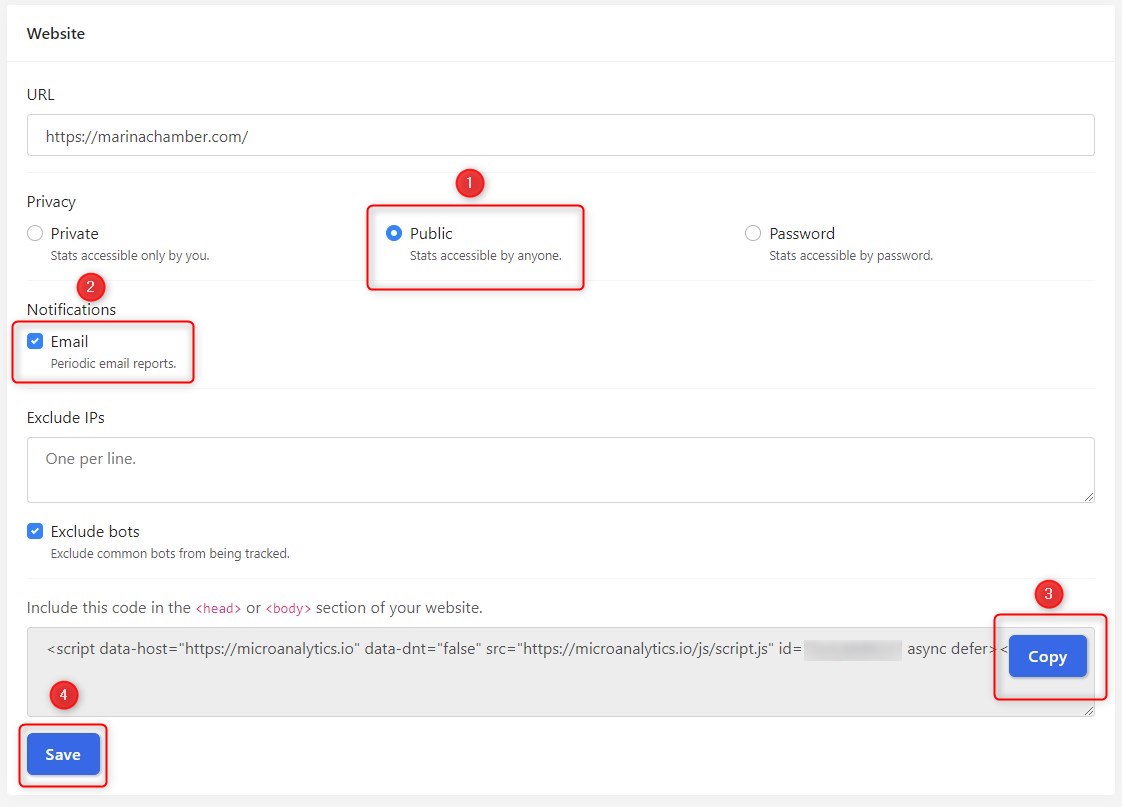
6. Fill out the website information on the screen. Below are some popular settings for a site that is not worried about hiding their stats. The last item in this page is the code you have to add to the website. Be sure to copy that code and save it to your notepad or other clipboard options.
Adding The Code To Your Divi Website
If you use Divi, you are in luck because it is super simple to add a code like this to the <head> or <body> of your website.
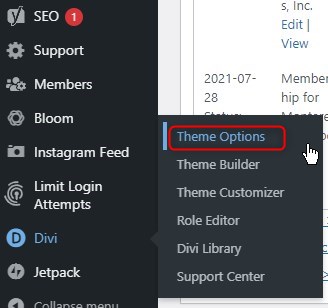
7. Log in to your website and go to Divi Theme Options. If this is not on your WordPress Dashboard menu, you may have to reach out to your developer for access.
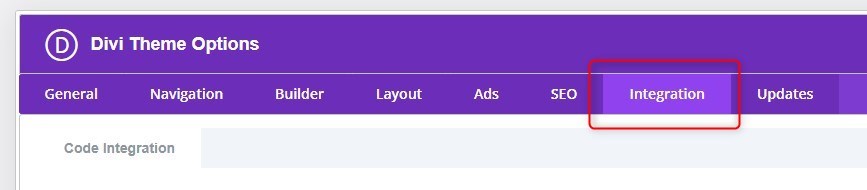
8. Go to the Integration tab.
9. Scroll down to the section labeled “Add code to the < head > of your blog” and that is where you will paste your code. You may see other code already in there so the screenshot below probably wont look empty like mine, but if it is empty, that is even better.

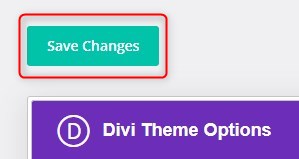
10. Select Save Changes.
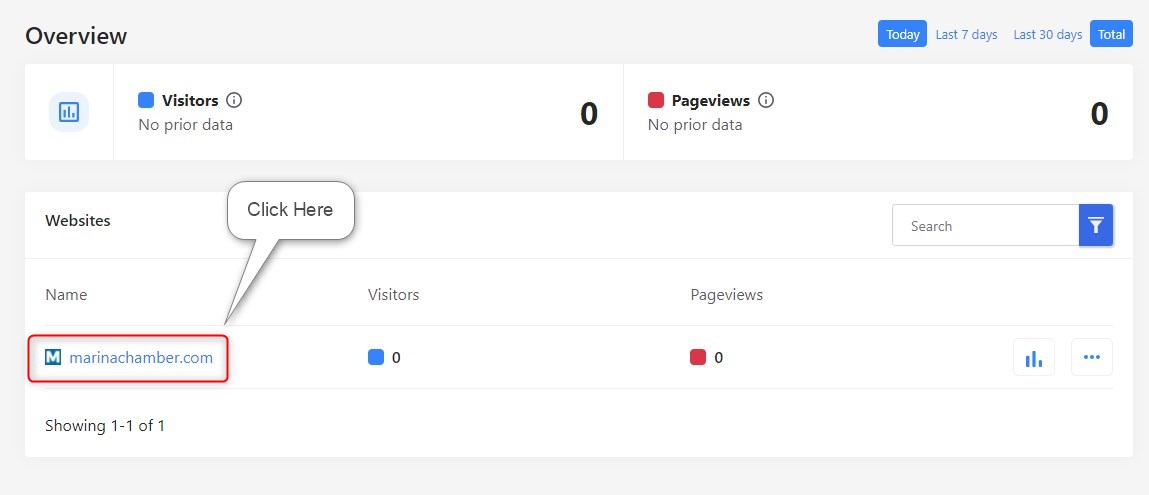
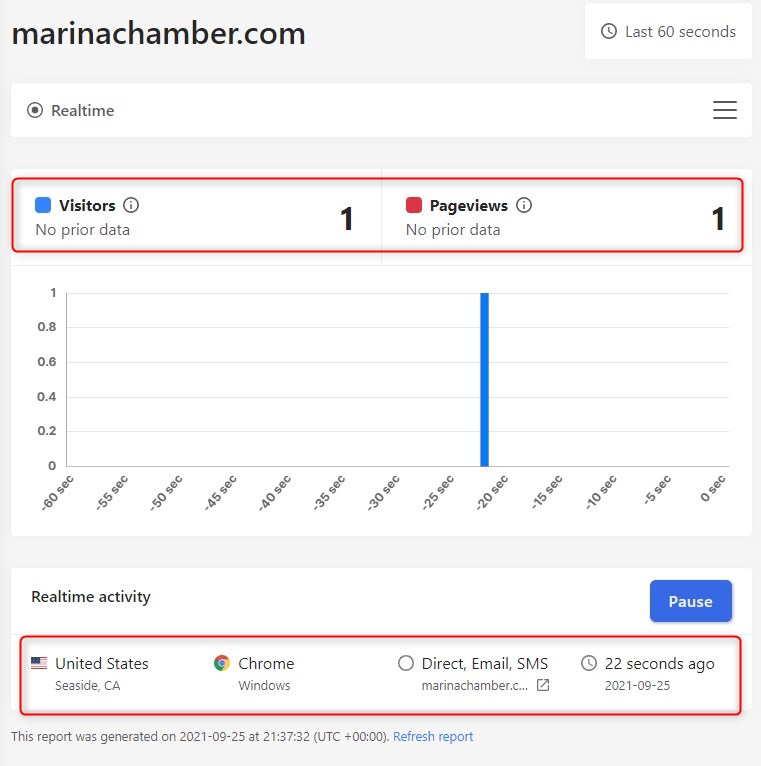
11. To verify that it is working, open up the home page of the website in a new tab or window and go back to your Microanalytics dashboard and open the website stats. Don’t worry that the stats are all zero. It is only going to start tracking the moment you get that code added.
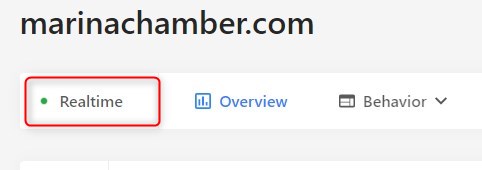
12. Now select Realtime and you should be able to see at least one visitor (yourself) on the website in real time.
13. If you do not use Divi, then you may check with your Theme developer to see if they have any easy way to add it. If not, then you can use the free Insert Headers and Footer plugin which will work on just about any WordPress website.
Getting It Ready For Your Client
If you are setting this up for a client, here are a few extra steps you can take if you need to.
1. If you have set it up as public, then all you have to do is send your clients the new URL for their analytics. The URL is going to be microanalytics.io/yourclientswebsite.com/. If you set it as password protected, then all they have to do is go to the URL and type in the password you set for the page.
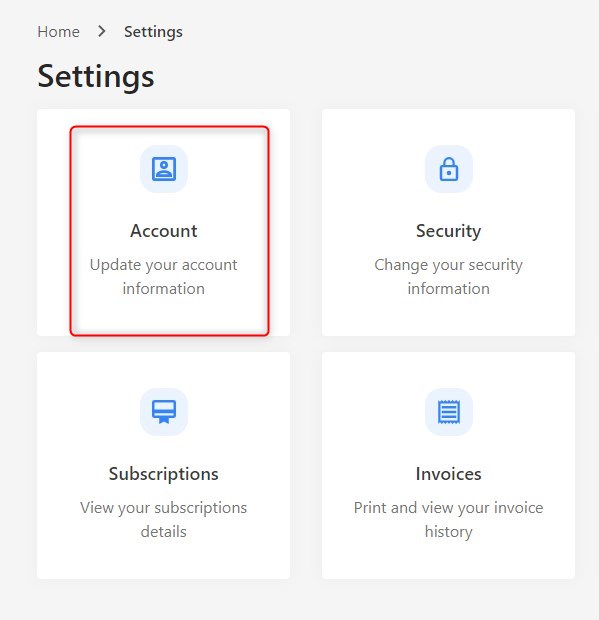
2. If you want to update the email on the account after everything is all set up, you can change the Settings located on the bottom left hand corner of the page and then select account.
Microanalytics is Super Easy To Use and Setup
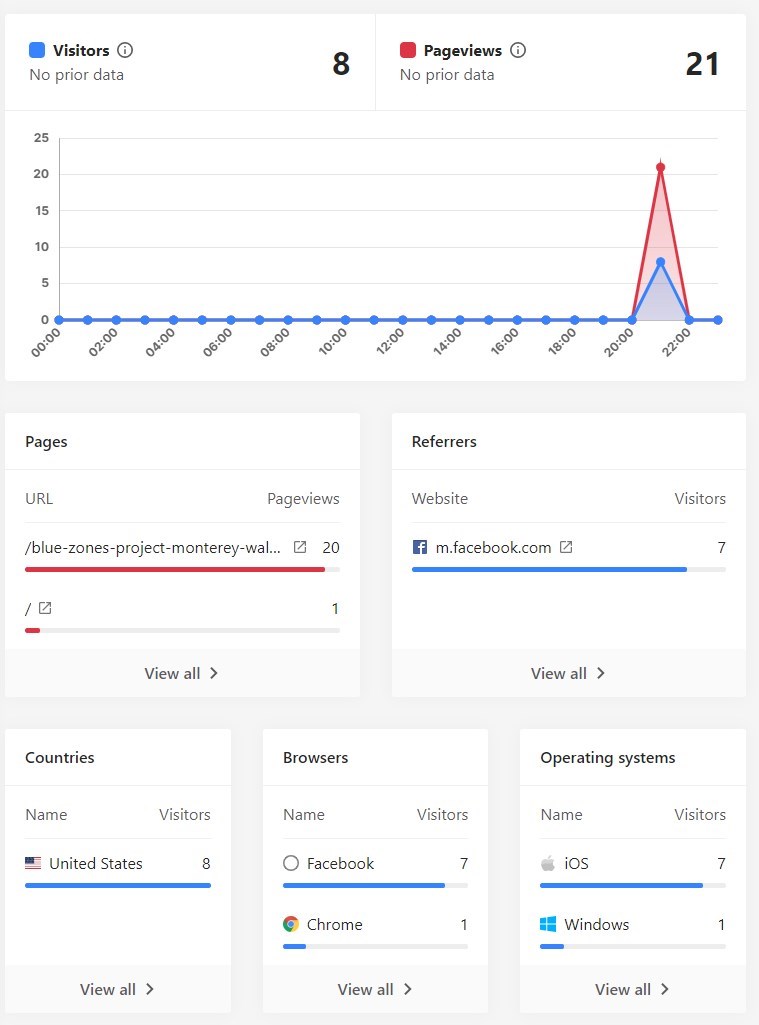
As you can see in the screenshot below, in the few minutes it took between screenshots while creating this post, we are already able to see new page views, visitors, where they came from, what country they come from, what browsers they use, what operating systems they use, and so much more.
In Closing
So while this may not be the best solution for everyone, based on how easy it is to setup, use and read, I think it is a great solution for new websites and businesses just starting to look at growing their online traffic. I have started to include this for my monthly maintenance and hosting clients who need basic monitoring and analysis without the extra costs of setting up and managing their Google Analytics accounts.
There are plenty of other Google Analytics alternatives so please let us know some of your favorites in the comments below. Also, if you have any other tips I missed, please feel free to share those as well.
Geno Quiroz serves on the Marketing & Technology team at IPX1031, a Fidelity National Financial company and a national leader in 1031 tax-deferred exchange services. In his current role, Geno focuses on website architecture, design, development, SEO/AIO, and digital marketing strategy. His work helps strengthen the company’s digital presence, improve user experience, and ensure that IPX1031’s online platforms effectively support client engagement and long-term growth.
Concurrently, Geno continues to lead Monterey Premier, the web design and strategic consulting firm he founded in 2015. Through Monterey Premier, he partners with entrepreneurs, nonprofits, and growing organizations to design high-performance websites, refine digital sales funnels, and implement conversion-focused strategies.
His hands-on experience building and scaling a client-facing agency has provided him with a real-world understanding of growth strategy, brand positioning, and the operational realities of business ownership — experience that now directly informs and strengthens his work in enterprise marketing technology.