Divi Auto Testimonials Plugin Review
Divi has a built-in testimonial module that lets you place a testimonial within any row you want. The testimonial module can be customized nicely. The problem is the testimonials are created within the modules. This leaves no way to manage them and makes it difficult to reuse them. The solution to this is a plugin called Divi Auto Testimonials from Noou.
In this article, I’ll take a look at how Divi Auto Testimonials works. I like to see how intuitive a plugin is so I jumped right in without looking at any of the documentation or the list of features. Here’re my experience and thoughts on using Divi Auto Testimonials plugin from Noou.
Note – this is a beta edition of the plugin. Many more features are being added.
Installation
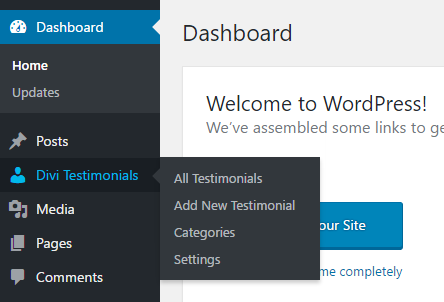
Installing the plugin follows the standard process. Once it’s installed you’ll see a new menu added to your dashboard called Divi Testimonials. From this menu, you can see all testimonials, add a new testimonial, categories, and settings. It also adds Divi Testimonials to the New drop-down menu at the top of the screen.
Creating a New Testimonial
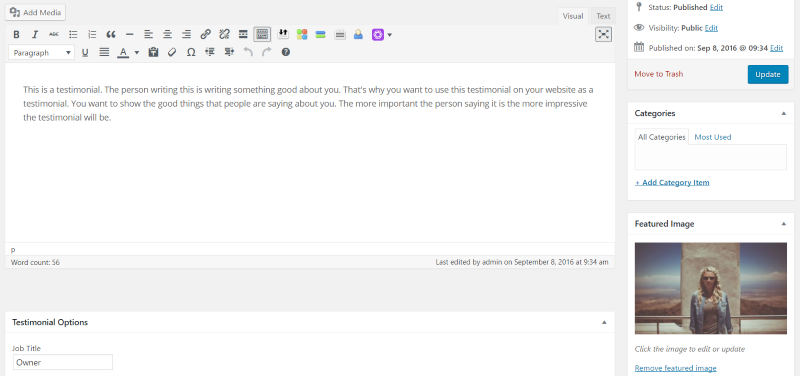
Adding a new testimonial works like creating content with the visual editor. Creating the testimonial is intuitive. There is a field added for Job Title, URL, and Company Name. You can use any type of media and style the content any way you want just like creating a regular WordPress post. The featured image will be used as the image of the testimonial.

Every time a testimonial is created or submitted you get an email alert. Once you’ve created your testimonials you can now place them on any Divi page or post using the Divi Builder.
The Divi Builder Module
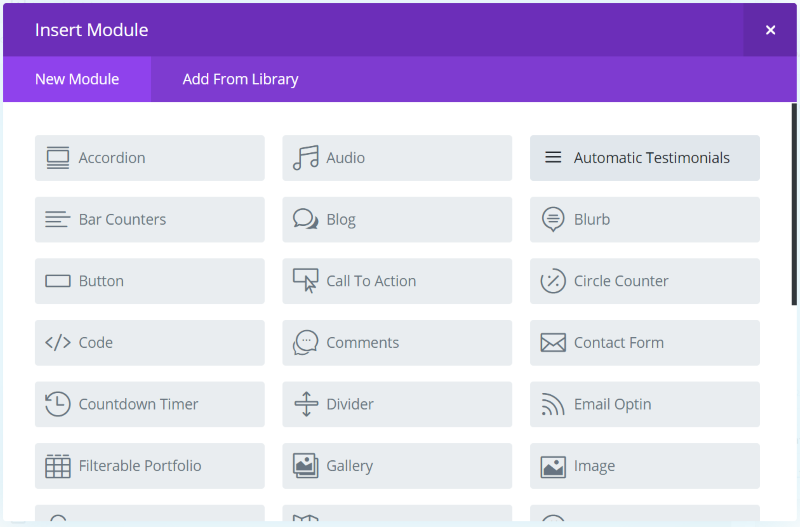
A new module called Automatic Testimonials is added to the Divi Builder.
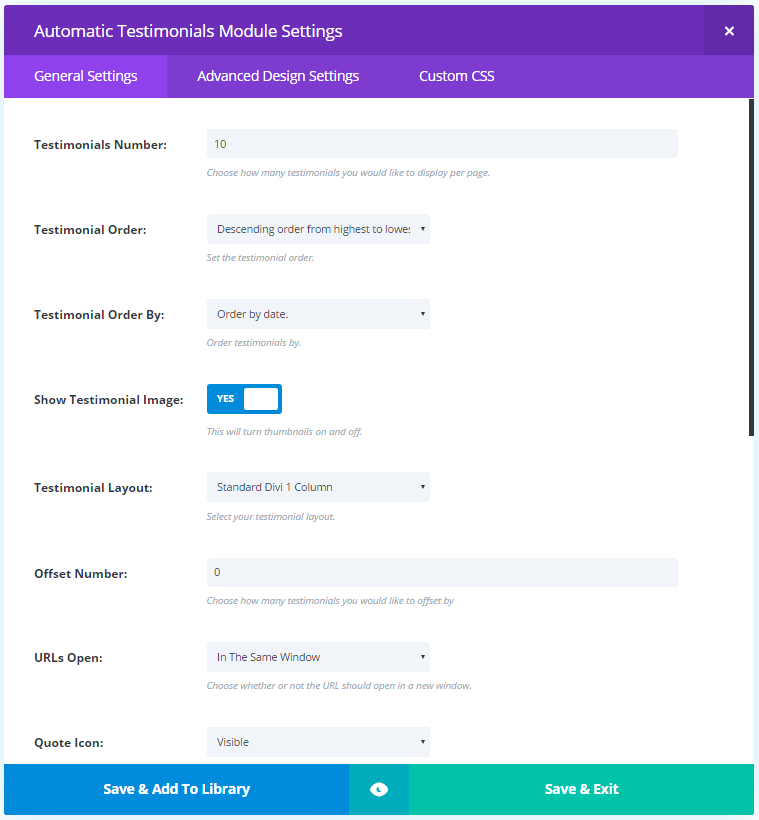
It includes the typical Divi module settings but it has very different features from the standard testimonial module. Rather than creating the testimonial within the module it uses testimonials from the library.
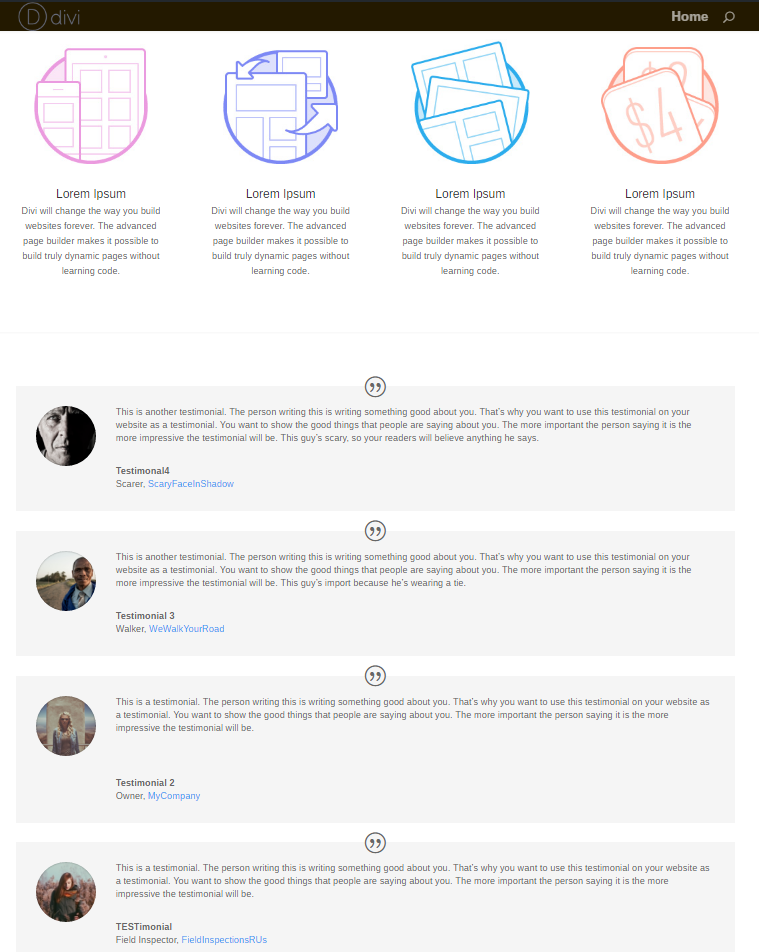
You simply choose the number of testimonials to display, their order, whether or not to show the image or quote icon, the number of columns to display, how URL’s work, background and text colors, and text orientation. You can style every element within the Advanced Design Settings or Custom CSS tabs.

One of the advantages is you can create the styling once and all of the testimonials it displays will have the same styling. I made an adjustment and it was reflected on every testimonial. This is a major time saver over using the standard testimonial module.
You can even place them horizontally. For this, you’ll need to use the offset feature and place multiple modules.

I created the styling I wanted and set the module to show two testimonials, and then cloned the module. In order to show different testimonials all I had to do was to change the offset number. I changed the offset from 0 to 2.
Using this method you can create grids and stacks without having to create a new testimonial every time you make a change. Just change the offset number.
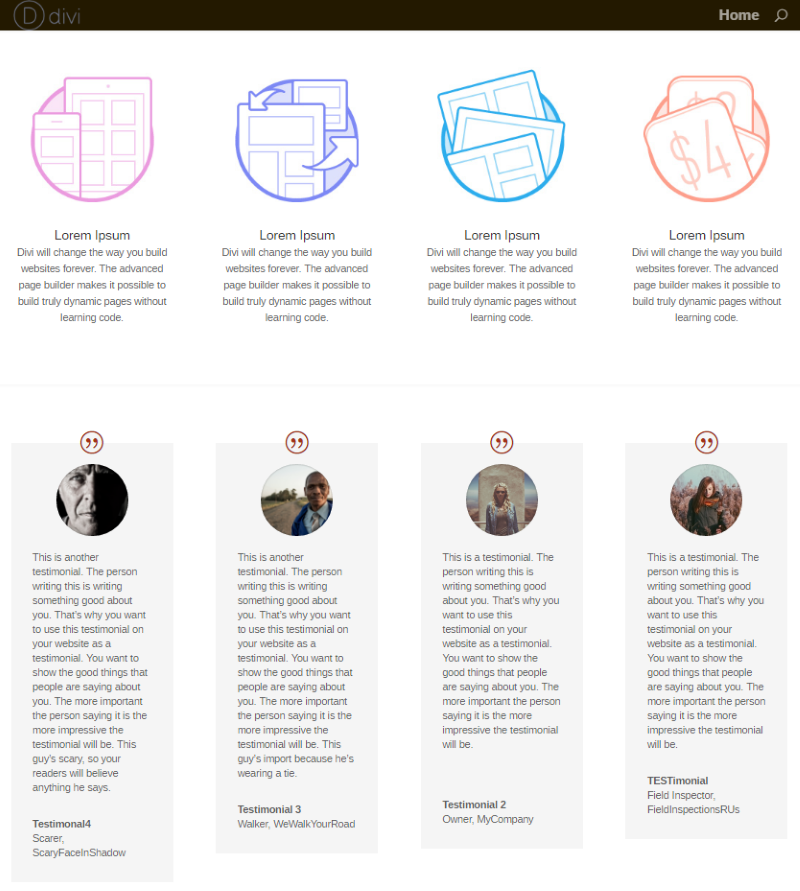
Normally I would create all of the stylings that I wanted and either clone it or save it to the library. Then I would create each testimonial within a new module that’s been pre-styled. Of course, the problem with this is the work involved in making changes to the styling.
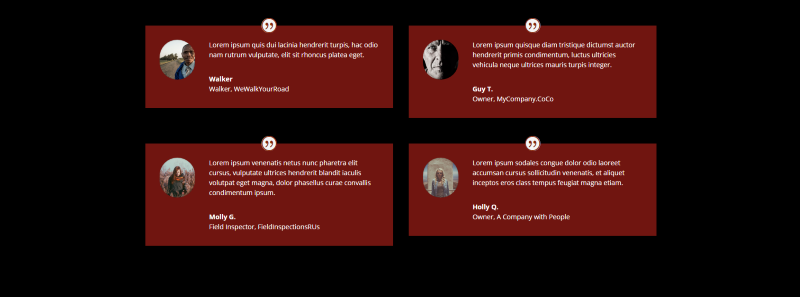
Of course, you can reuse the same testimonials on a new page with its own styling without making changes to the testimonials.
Since testimonials have a category feature I’d like to see a category selector added to the module. It would even be helpful if you could sort by category. This would allow you to easily display specific testimonials on specific pages. This is a beta plugin, so maybe they will consider this feature in the future.
Testimonial Submission Forms
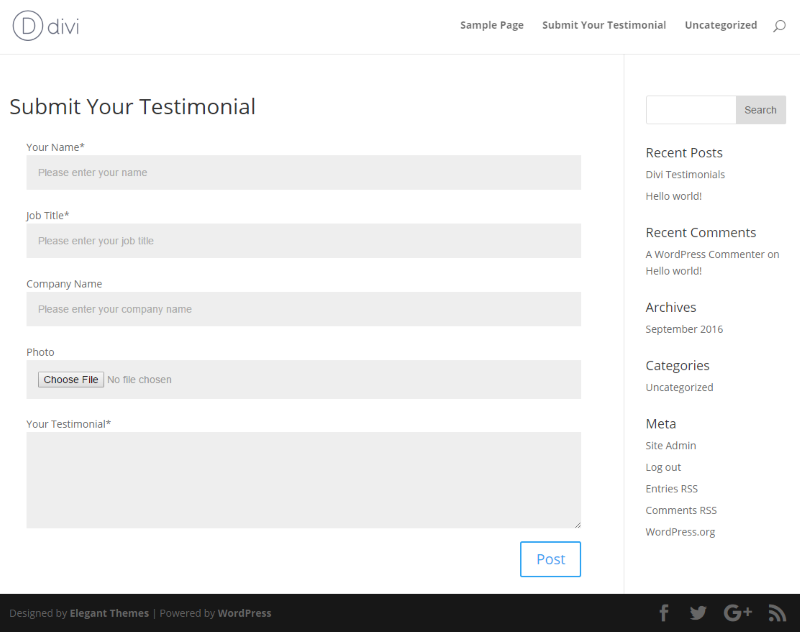
Another interesting feature is a testimonial submission form that you can add to any page on your website using a shortcode. This allows your readers to submit their own testimonials including text, titles, and an image. They can even use markup if they want.
Submitted testimonials will be held for your review, so they won’t go live until you approve them. You’ll get an email alerting you that you have a new testimonial.
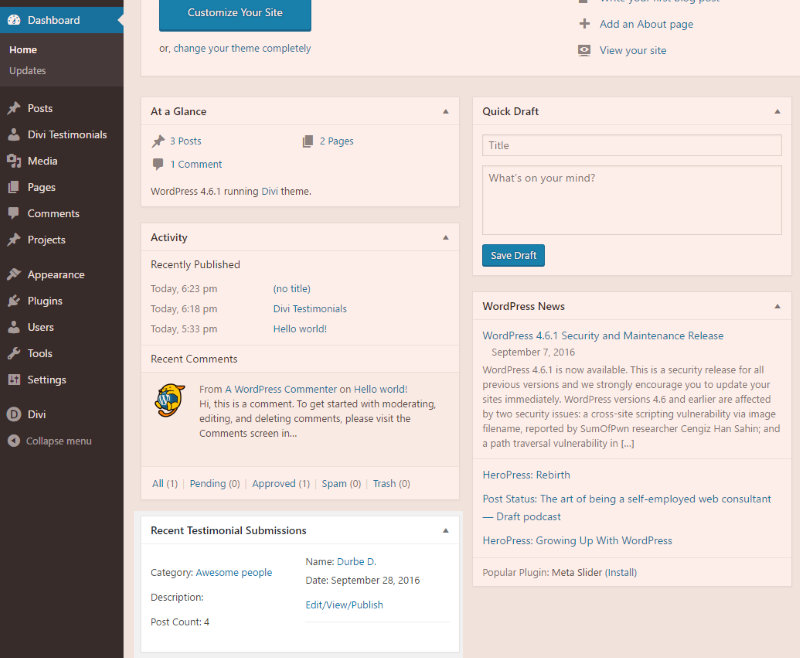
An alert will be added to the dashboard under Recent Testimonial Submissions.

Submitted testimonials will be saved as a draft within All Testimonials where you can add a category, edit, preview, etc.
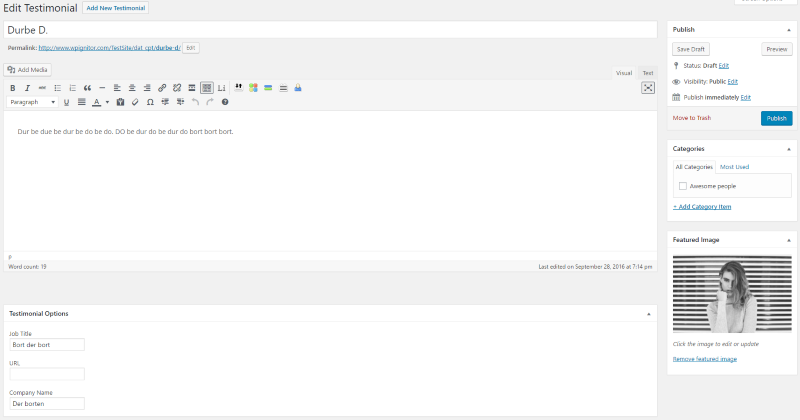
The testimonial will look exactly as it would if you created it yourself.
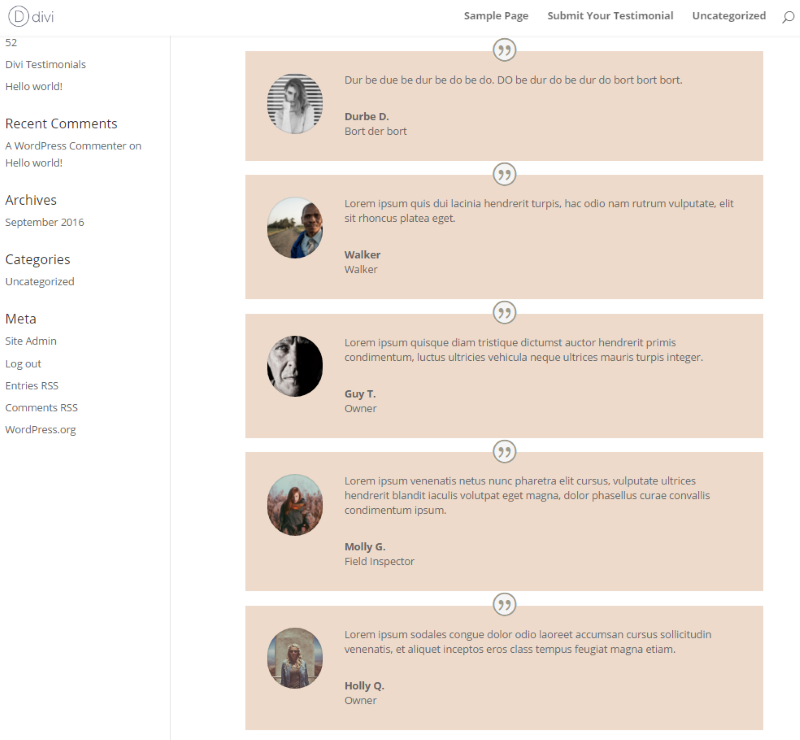
Once you publish the testimonial it will be added to the others.
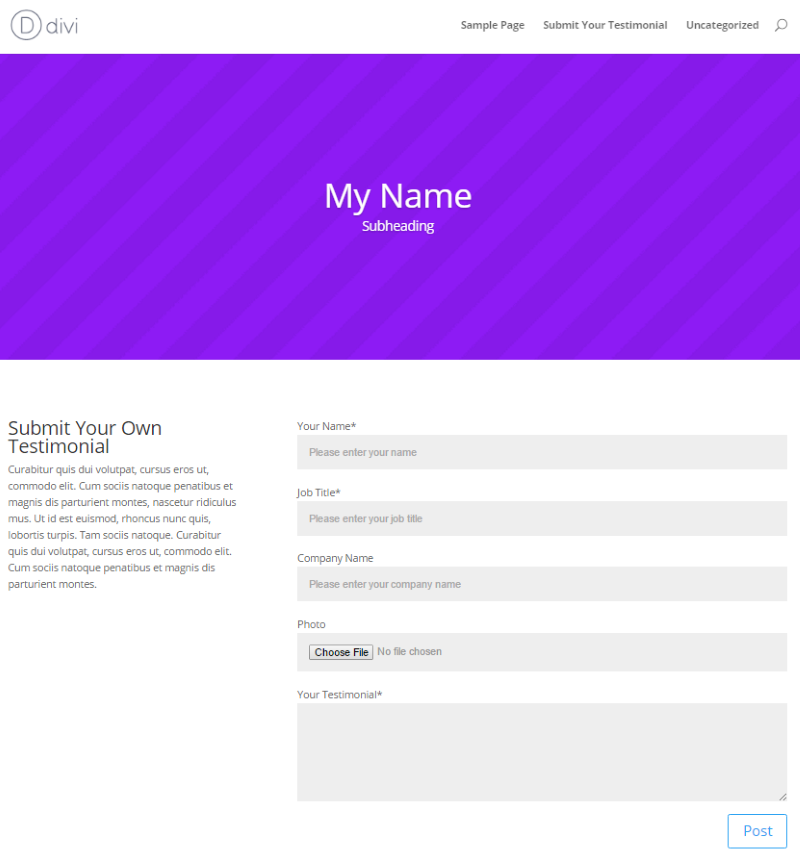
The shortcode even works within a text module in the Divi Builder.
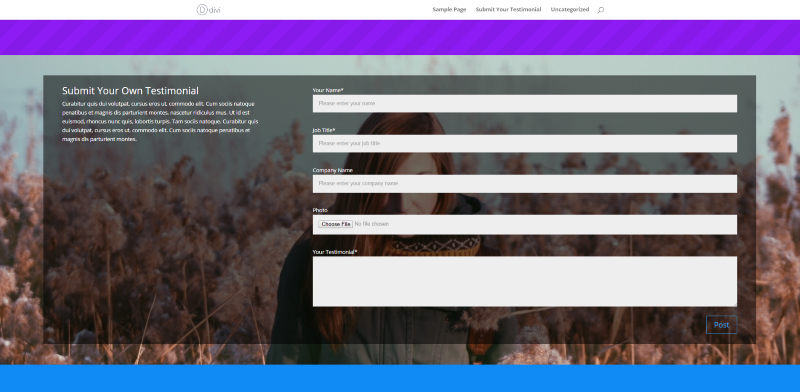
You can style the text module to match your page using the text module’s settings and CSS.
Final Thoughts
Divi Auto Testimonials is by far the easiest way to manage testimonials that I’ve seen with Divi. Using the plugin is as intuitive as any Divi module and it can be placed within any row in the Divi Builder. The Testimonial Submission Form is a great way to allow your readers to submit their own testimonials that you can publish if you want.
If you have a need to display testimonials on your Divi website I highly recommend Divi Auto Testimonials.
Have you tried Divi Auto Testimonials?

Randy is a WordPress writer and child theme developer from east TN. You can catch him writing, reading, guitaring, or drinking coffee just about any time, night or day.


