Canva Pro has made the challenging task of background removal incredibly easy. With just a single click, you can make any product, headshot, or logo stand out and grab attention, free from any distracting backgrounds.
I use this on the regular. It is great when working with Staff or Team website pages. I can easily take all the various photos and give them consistent backgrounds like we do over on the Cyber Shift Technologies website. It works incredibly well.

Whether you’re a professional designer or just starting with graphic design, Canva Pro’s background removal tool can help you create visually striking graphics effortlessly.
Effortless Background Removal with Canva: A Step-by-Step Guide
This step-by-step guide will walk you through the process of removing a background from an image using Canva Pro. Let’s dive in and explore the power of Canva Pro to elevate your design game to new heights.
Starting a new design
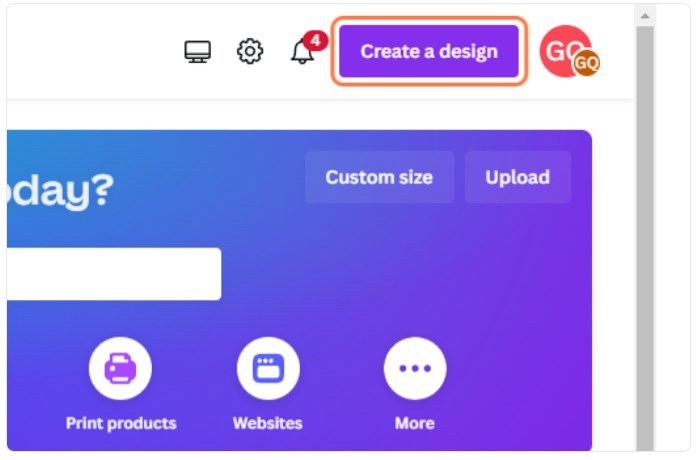
1. Go to Canva and login
2. Click on “Create a design”
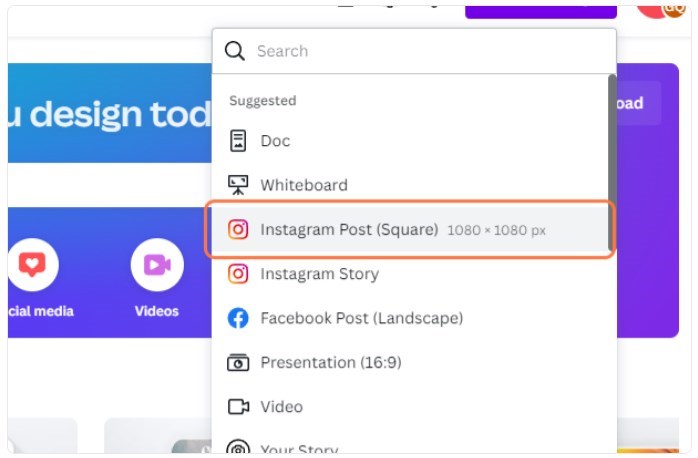
3. Select the type of media you want to create
In this tutorial I will be creating a basic Instagram square.
Select or upload the image you want to remove the background on
For this tutorial, I am going to use Canva images.
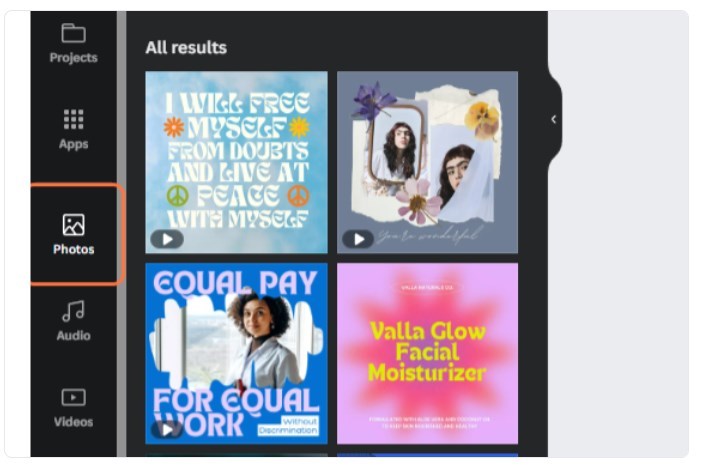
4. Select “Photos”
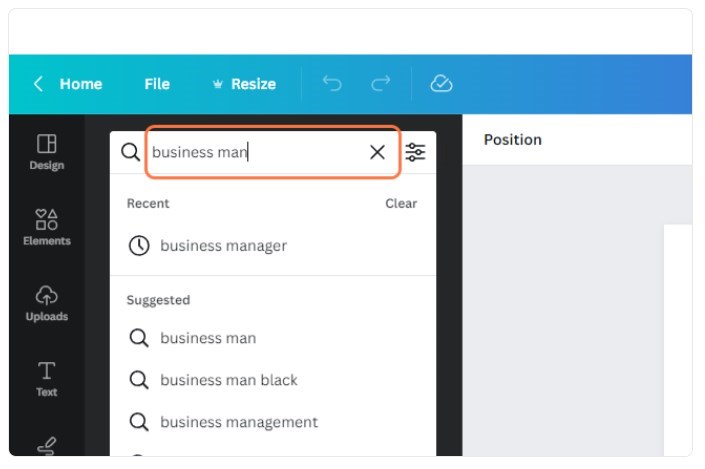
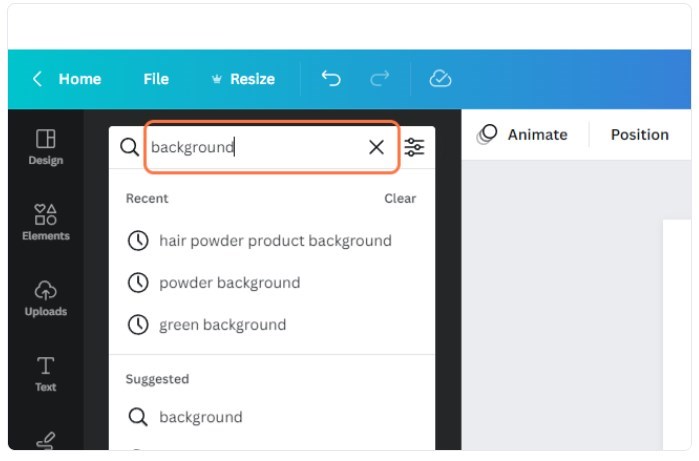
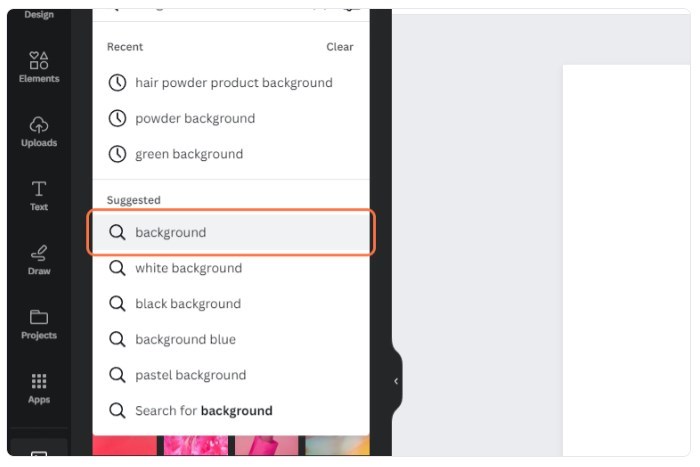
5. Type in the type of image you are looking for in the “Search” box.
6. Select the image to move it over to the blank canvas
Remove the background with one-click
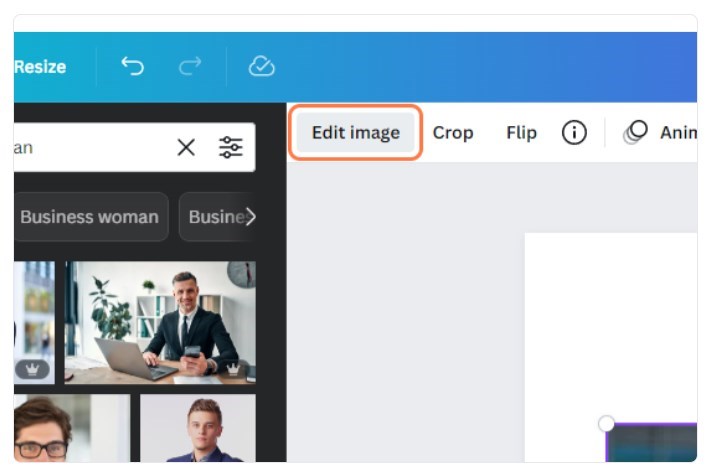
7. Click on “Edit image”
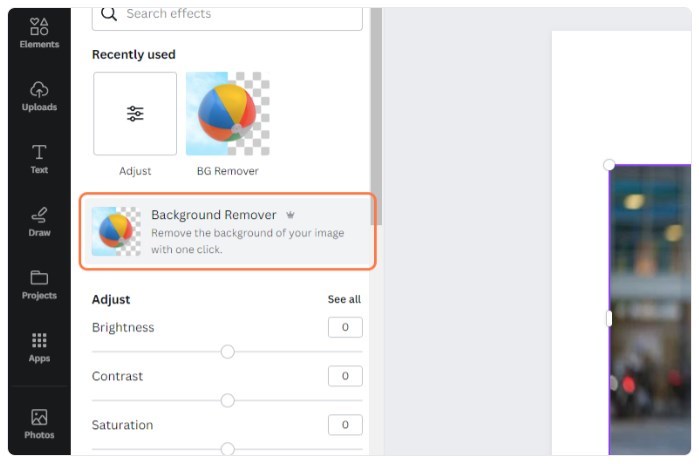
8. Click on “Background Remover”
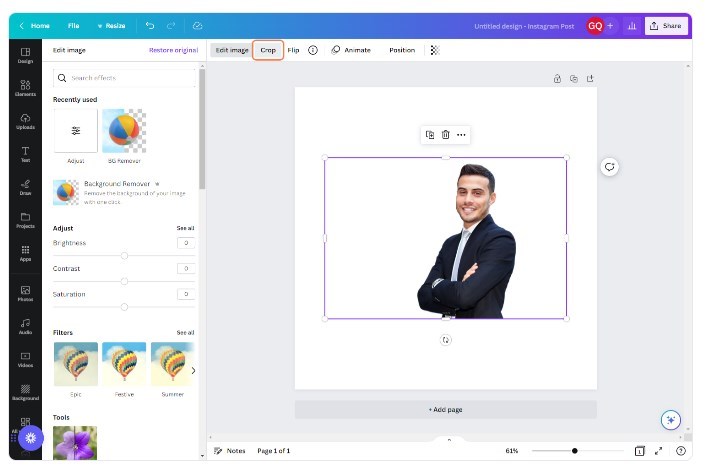
9. Click on “Apply”
Next, you might want to crop the image to remove some of the unnecessary white space
Cropping the Image in Canva
10. Click on “Crop”
11. Drag highlighted element by the corners
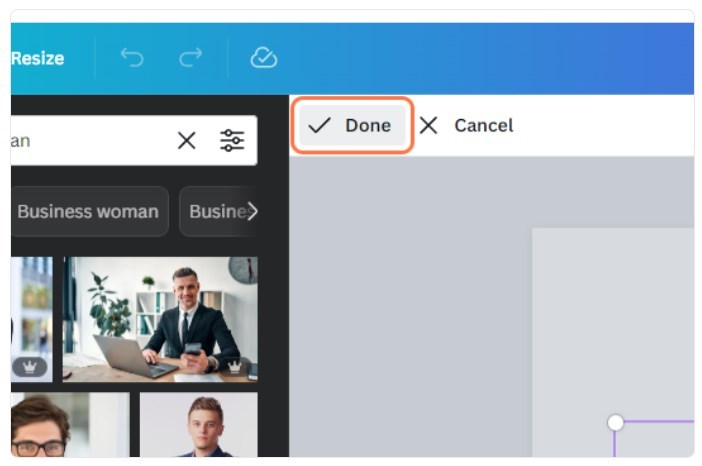
12. Click on “Done”
13. Click anywhere in the canvas to deselect the image.
Adding a Custom Background to Your Image
14. Select an image to use for the background
This could be anything from an actual office background, nature background or just a simple pattern or color. For this tutorial, I will search for all backgrounds to see what my options are.
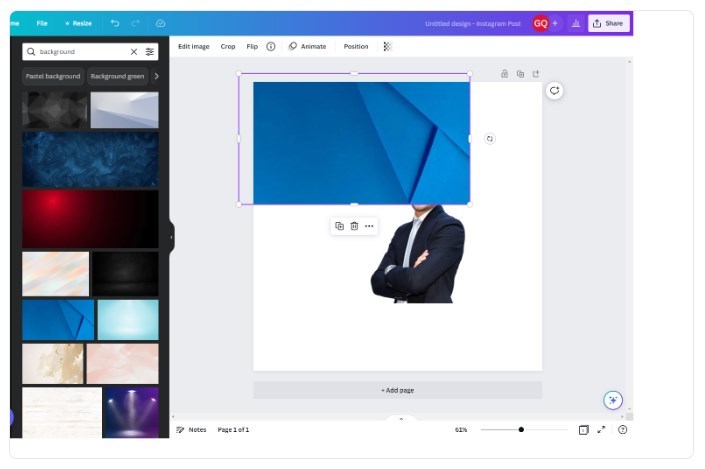
15. Select the image you want to add to the canvas
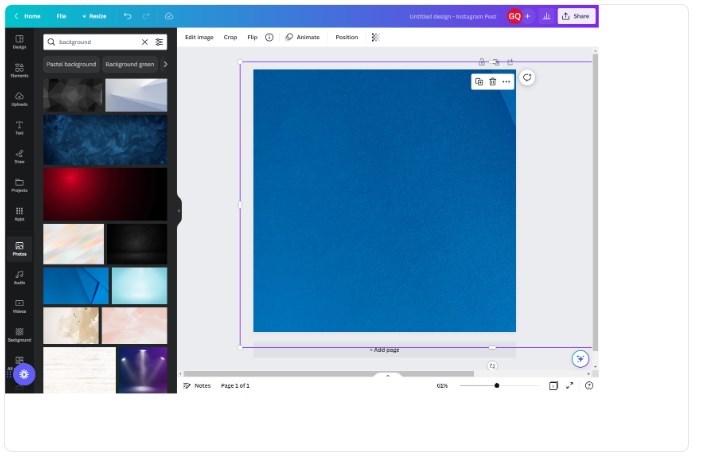
16. Drag, drop and position the new image until it fills the screen
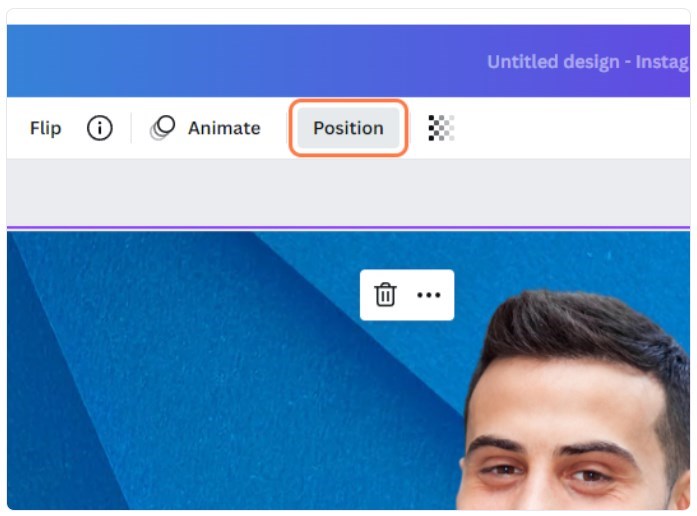
Note: If the background image is covering the other image, you can select the Position button to move it backwards and forwards.
17. Drag, resize and position the image with the background removed until it is where you want it.
Now that you have created your design, you can add text, images, elements and more. Be sure to save it to a project folder and download the asset.
If you are working with Canva teams, make sure to invite colleagues and start collaborating. If you are on the fence about upgrading to Canva pro, I give a few reasons why I think you should consider it here.
Start Creating Stunning Graphics in Canva
In conclusion, removing background images with Canva Pro is a straightforward and efficient process that can elevate your designs to a whole new level. By following the steps outlined in this tutorial, you can create professional-looking graphics with ease.
With Canva Pro’s robust background removal tool at your fingertips, the possibilities for creating stunning visuals are endless. Keep experimenting and refining your skills, and in no time, you’ll be a master of Canva, producing eye-catching designs that leave a lasting impression. Happy designing!
Geno Quiroz serves on the Marketing & Technology team at IPX1031, a Fidelity National Financial company and a national leader in 1031 tax-deferred exchange services. In his current role, Geno focuses on website architecture, design, development, SEO/AIO, and digital marketing strategy. His work helps strengthen the company’s digital presence, improve user experience, and ensure that IPX1031’s online platforms effectively support client engagement and long-term growth.
Concurrently, Geno continues to lead Monterey Premier, the web design and strategic consulting firm he founded in 2015. Through Monterey Premier, he partners with entrepreneurs, nonprofits, and growing organizations to design high-performance websites, refine digital sales funnels, and implement conversion-focused strategies.
His hands-on experience building and scaling a client-facing agency has provided him with a real-world understanding of growth strategy, brand positioning, and the operational realities of business ownership — experience that now directly informs and strengthens his work in enterprise marketing technology.


